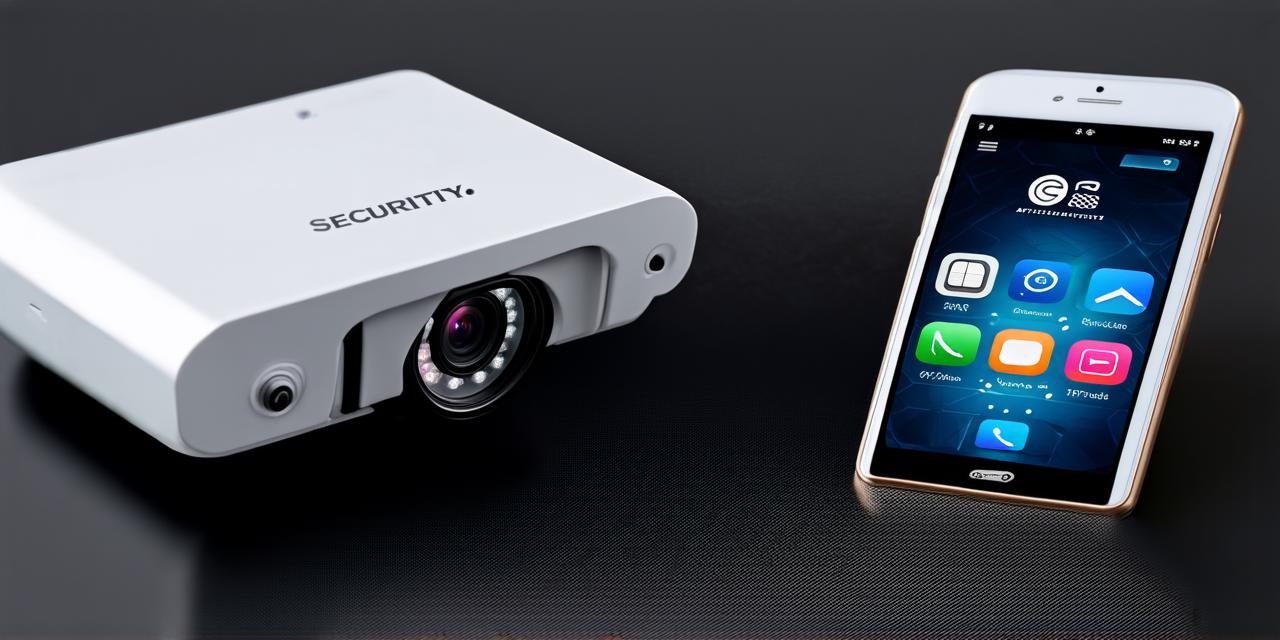
As technology advances, security cameras are becoming increasingly popular among businesses and homeowners. However, traditional security cameras can be expensive, complicated to install, and difficult to monitor remotely. This is where mobile apps come in handy. By developing a mobile app for security cameras, you can make it easier for people to access their camera feeds, receive alerts, and control their cameras from their smartphones or tablets. In this guide, we will explore how to get a mobile app for security cameras, including the steps involved, best practices, and tips for success.
Step 1: Choose Your Security Camera Platform
The first step in developing a mobile app for security cameras is to choose your platform. There are several options available, including Wi-Fi and cellular connectivity. Wi-Fi connectivity is generally the most reliable and cost-effective option, but it may not be suitable if you need to monitor remote locations. Cellular connectivity, on the other hand, allows you to access camera feeds from anywhere with a mobile signal, but it can be more expensive and less reliable.
It’s important to choose a platform that meets your needs in terms of reliability, cost, and flexibility. For example, if you need to monitor a large area, such as a construction site or warehouse, Wi-Fi connectivity may be the best option. However, if you need to monitor remote locations, such as a vacation home or hunting cabin, cellular connectivity may be necessary.
Step 2: Choose Your Mobile App Development Framework
Once you have chosen your security camera platform, the next step is to choose your mobile app development framework. There are several options available, including React Native, Xamarin, and Flutter.
React Native is a popular choice for mobile app development because of its ability to create fast, high-performance apps that look and feel like native apps. Xamarin is another option that allows you to write code once and deploy it across multiple platforms, making it ideal for businesses with limited resources. Flutter is a newer framework that has gained popularity due to its ability to develop visually stunning apps quickly and easily.
Step 3: Choose Your Mobile App Development Tools and Services
In addition to choosing your mobile app development framework, you will also need to choose the tools and services you will use to develop your app. There are many tools available for mobile app development, including Integrated Development Environments (IDEs), testing frameworks, and cloud platforms.
Some popular IDEs include Android Studio and Xcode. Testing frameworks like Jest and Enzyme can help you ensure that your app is functioning properly before release. Cloud platforms like AWS and Firebase can provide the infrastructure you need to host and deploy your app.
Step 4: Develop Your Mobile App
Now that you have chosen your platform, framework, tools, and services, it’s time to start developing your mobile app. The development process will depend on your specific needs and requirements, but there are some general steps you should follow.
First, you will need to design the user interface (UI) for your app. This includes creating wireframes, mockups, and prototypes that demonstrate how the app will look and function. You will also need to define the features and functionality of the app, such as live camera feeds, motion detection, and remote control capabilities.
Next, you will need to develop the backend infrastructure for your app. This includes setting up a cloud platform, configuring authentication and authorization, and integrating with any third-party services or APIs that your app may use.

Finally, you will need to develop the frontend of your app using your chosen framework. This includes writing code, testing the app, and debugging any issues that arise.